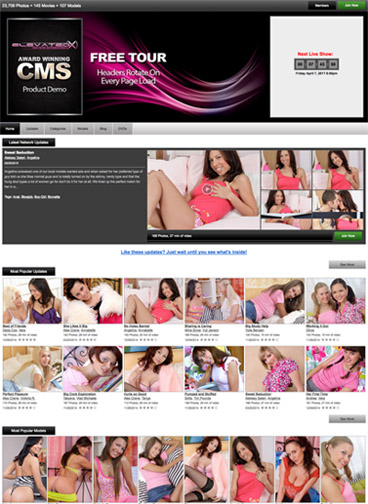
This guide provides documentation and steps for setting up a NEW area using our PHP templates available here:
https://cs.elevatedx.com/newest_templates.php
New Elevated X CMS Pro Design Themes (PHP)
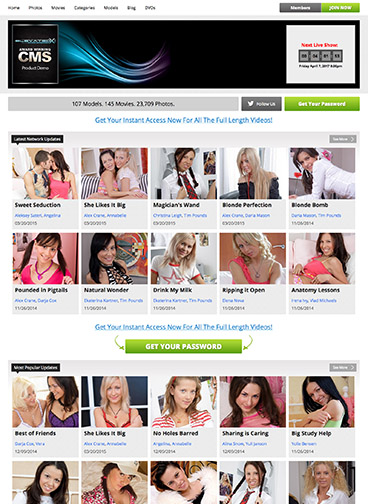 Classic Classic |
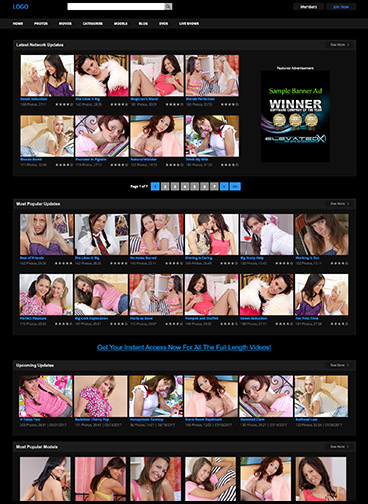 Totally Tubular Totally Tubular |
|
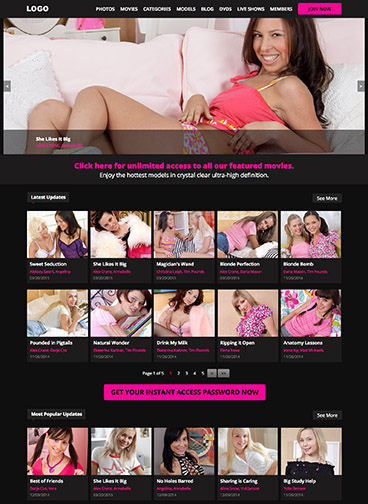 Elegant Modern Elegant Modern |
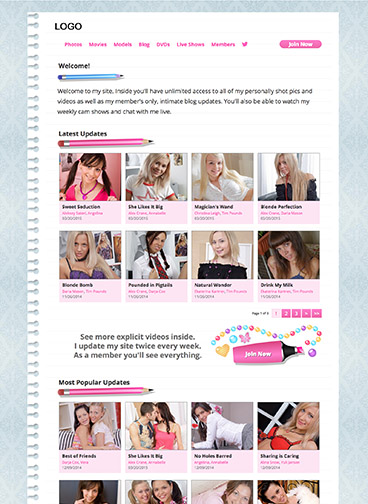 Going Solo Going Solo |
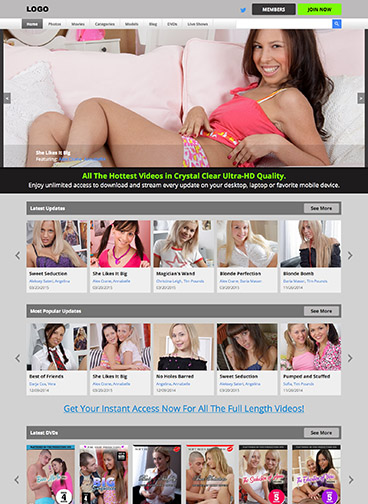 Sleek Modern |
We always recommend installing new templates into a 'dev.' subdomain so you can work on these areas while your existing area runs on the older templates.
1) Download the zip file for the templates you wish to use and extract the zip file to your local computer from the page above.
2) Inside the extracted folder you'll find 5 folders(cms_admin,members,tour,trial,vod) the area files are located inside the various area folders.
The files for the tour templates are located in the 'tour' subfolder.
The files for the members area are located in the 'members area subfolder.
3) Upload these files from the various area to your new area on your dev.subdomain.
Example:
Upload the files from the 'members' folder to the area you want the members area to be located on your dev.subdomain.com area.
4) Upload the the template files located inside the cms_admin/phptemplate/ to your cms_admin/phptemplate folder on your server.
5) Create(or ask your host to create for you) a symlink to your existing members/content/ folder inside your new dev member's area named 'content'
6) Create a new tour ID entry that references the new templates by using the import setting drop-down menu inside the "add a new tour" dialogue of the tour admin.(Selecting the templates you wish to use). Make sure you naviaget tot he admin home page after adding the tour and click the "set defaults" link if present.
7) Edit each areas' 'cmsinclude.ini.php' file in a text editor and modify the fields for this area. You'll nee to make sure the following entries are correct for your area:(Replace x with the ID number of the new site you are working with.
SITE ID=X
and if you are editing a new tour, also edit the tour DI to match your new tour ID you created.
TOUR ID= X
Also, please make sure to update the following:
$_SERVER[DOCUMENT_ROOT]/cms_admin
with your servers path to the cms_admin.
(You can always find the 'path to cms_admin' by going to your admin panel home page, locate the warnings area and click the link for "Click here for an Expanded/Detailed View" then scroll down to the 4th entry from the bottom, "Path". across form it you will see the path to admin that you will want to copy and replace the '$_SERVER[DOCUMENT_ROOT]/cms_admin' line of your 'cms_admin' file.
Save and re-upload to your server. Then you should be able to access the areas.
When you first visit the area, you'll be prompted to either log into the admin panel(if you are not currently) or click a link to create a new area entry in the system by clicking the link. Please read the instructions and follow them.
If you run into any trouble please open a support ticket and we'll get back to you as soon as possible at http://cs.elevatedx.com/


